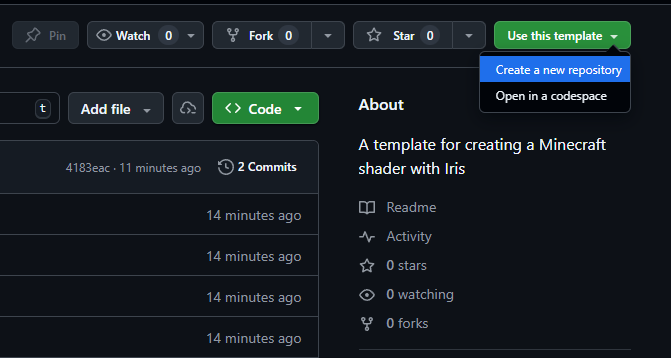
Let’s get set up with our Minecraft equivalent to a “Hello, World!”. First, head over to ascpixi/minecraft-shader-template. Create a new repository from this template by clicking  , and then
 Create a new repository.
This will automatically get you set up with Git, which is super helpful for tracking progress! You can also choose to download the ZIP directly here.
Clone your new repository (by doing git clone <URL> in your terminal or by clicking on  , then
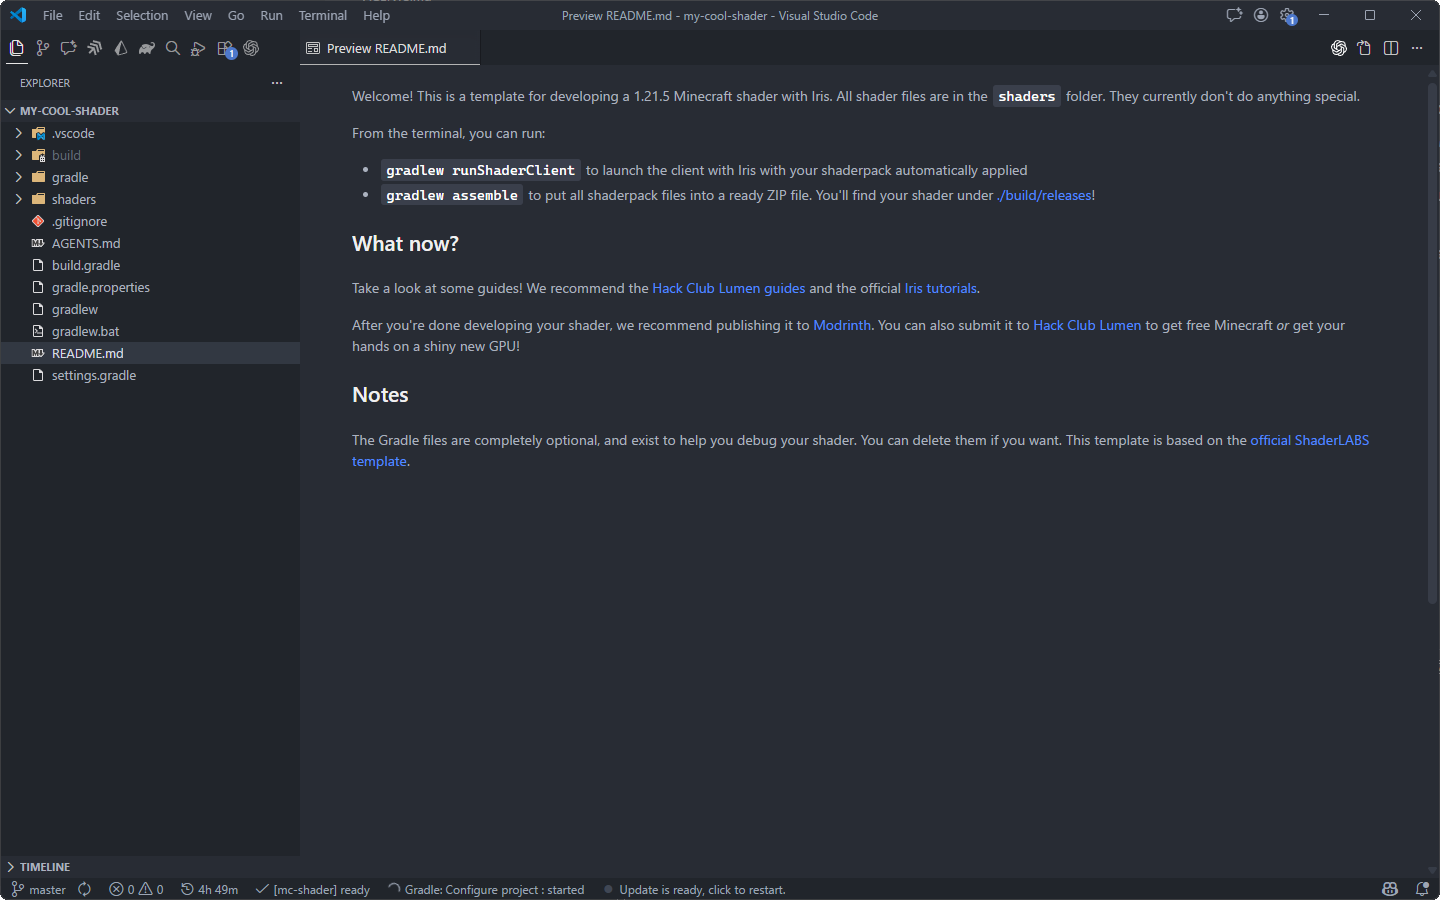
 Open with GitHub Desktop), and open it in your code editor of choice. We strongly recommend VS Code, as you’ll get syntax highlighting and error reporting in this case.
Now, let’s go run what we have now! Open up your terminal, and run gradlew runShaderClient. This will take a while, so feel free to make yourself a nice cup of tea - this will download Minecraft, Iris, Sodium, and all that jazz.
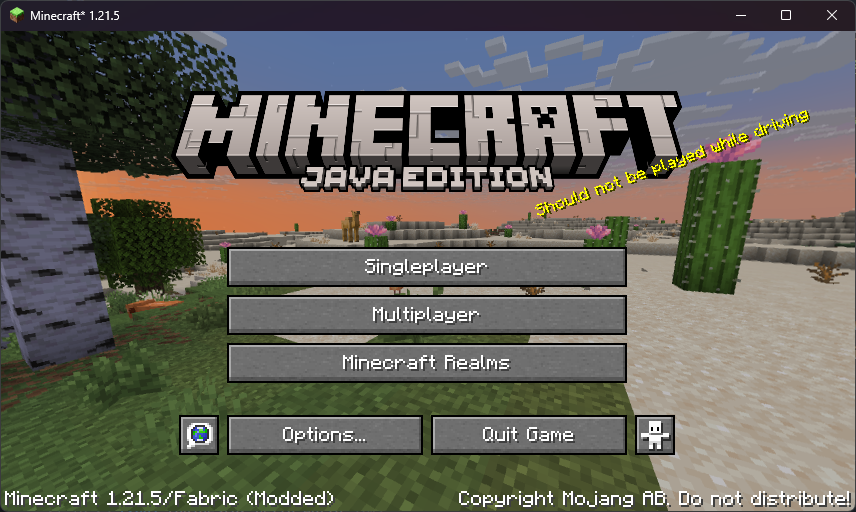
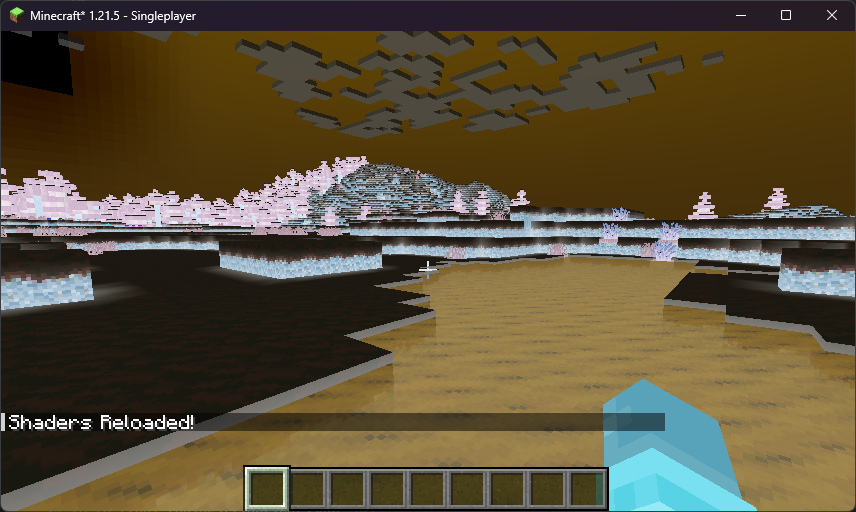
A Minecraft window should pop up. Success! Your shaderpack is already locked and loaded - let’s go create a Singleplayer world.
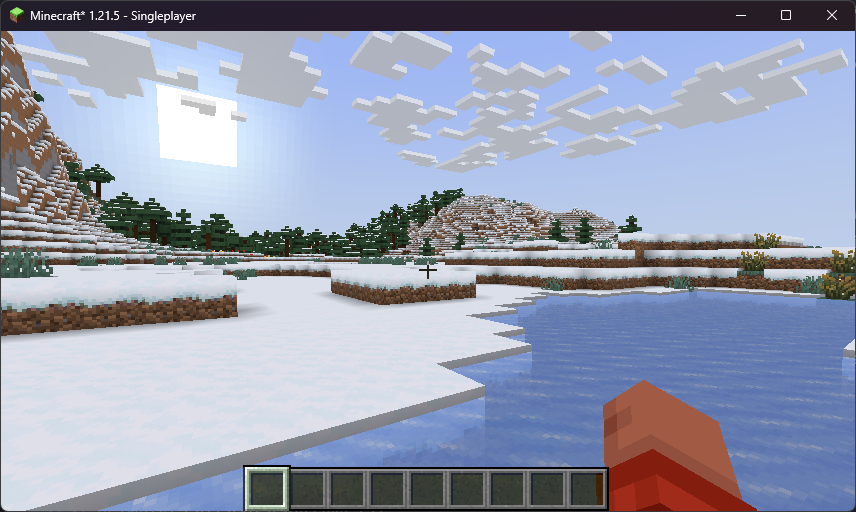
You’ll notice that the visuals we have are… quite ordinary. That’s because the template doesn’t change the visuals in any way - it’s your canvas! Let’s try inverting all colors. Let’s go to shaders/composite.fsh.
#version 330 compatibility
uniform sampler2D colortex0;
in vec2 texcoord;
/* RENDERTARGETS: 0 */layout(location = 0) out vec4 color;
void main() {  color = texture(colortex0, texcoord);  color = 1.0 - texture(colortex0, texcoord);}
Press R to reload your shader, and… woah, that’s cool!
Mess around with it - here’s a few fancy tricks you can try:
  // Chromatic abberation  color = vec4(    texture(colortex0, texcoord).r,    texture(colortex0, texcoord + 0.01).g,    texture(colortex0, texcoord - 0.01).b,    1.0  );
  // Flipped  color = texture(colortex0, 1 - texcoord);
  // Make everything red  color = vec4(texture(colortex0, texcoord).r, 0, 0, 0);
Don’t forget to hit R to reload your shader after your changes.
Now that we got started with our shader, let’s get in the weeds of how Minecraft renders stuff, and how we can make it pretty.